I'm a newbie wannabe wood worker who is most of all a computer geek. This blog will be all about transforming a tiny space to a wood workshop and all to document all the injuries and mistakes I make along the way!
So far my workspace is a mess since one of the first projects is to fix the workspace. And to do that, I need a flat surface to work on.
Oh, I'm also kinda short on cash so I need to do this smart!
Here's my plan on how to finish step 1 of creating an awesome workspace:
- Buy a cheap second hand oak table for about $10. (Done)
- Extend the legs in a complicated way to make it high enough to use. (In progress).
- Fail at creating nice joints... Try again (Currently iterating this step).
- ?
- Awesomeness, I can start on refurbishing the 100 year old workbench. I'll put together a separate post about that.
Other side projects
I'm fiddling with a simple vacuum cleaner system to attach my tools to. It will have a separator for any chips of wood and 3d printed valves to control the flow of air.
To model the 3d printed valves, I use Autodesk Fusion 360. (did I mention that I'm a computer nerd)
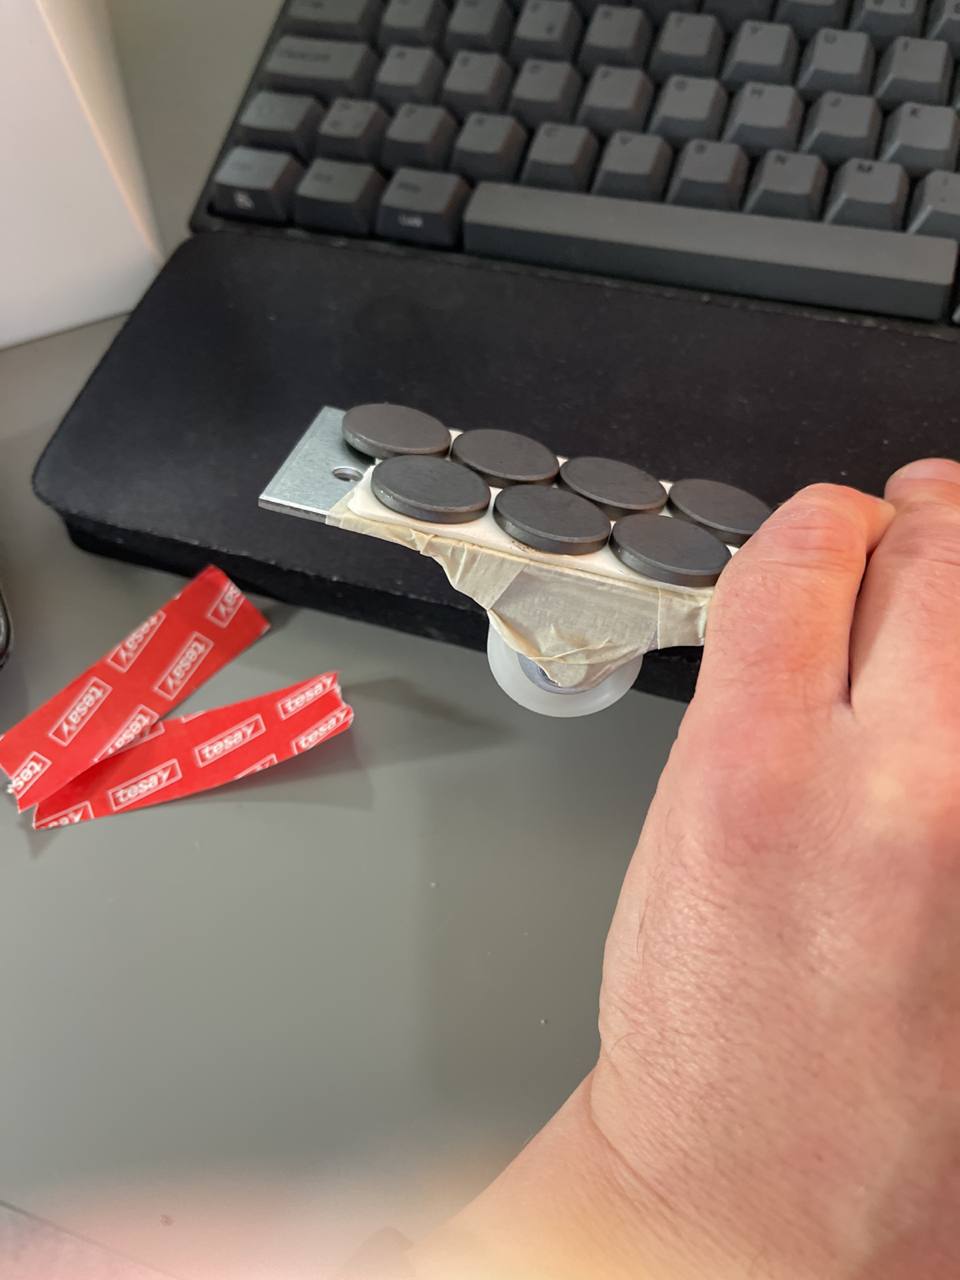
One very important lesson is that you need insanely sharp tools when working with oak. Initially I freehand sharpened all my chisels. Works OK, but a jig would be nicer. So I prototyped this together:
It's basically a flat piece of steel with magnets and some wheels on it. This will allow me to get a consistent angle while sharpening my tools. Eventually I might purchase a grinder thingy for this, but as I said, money is kinda tight at the moment and I really want to learn to do it the manual way first.
That's it for the first post. Thanks mom for reading this. I'll focus on providing some more content on the current mess that I call the workshop and what my plans are and how I did it!


No comments:
Post a Comment