Several years ago, while doing a lot of electronics, I purchased a small CNC machine from Alibaba to engrave PCBs. Never got the process to work as good as I wanted to so I ended up ordering them from PcbWay instead for like $5 for 10 boards...
But it's a good thing that I bought it because now I can engrave ducks into stuff. I will of course also test the limits of this tiny machine and see if it can cut plywood. I was thinking it would be nice if it could cut router templates for example.
Anyhow, that's the future, now we have a duck to engrave.
Design and prep
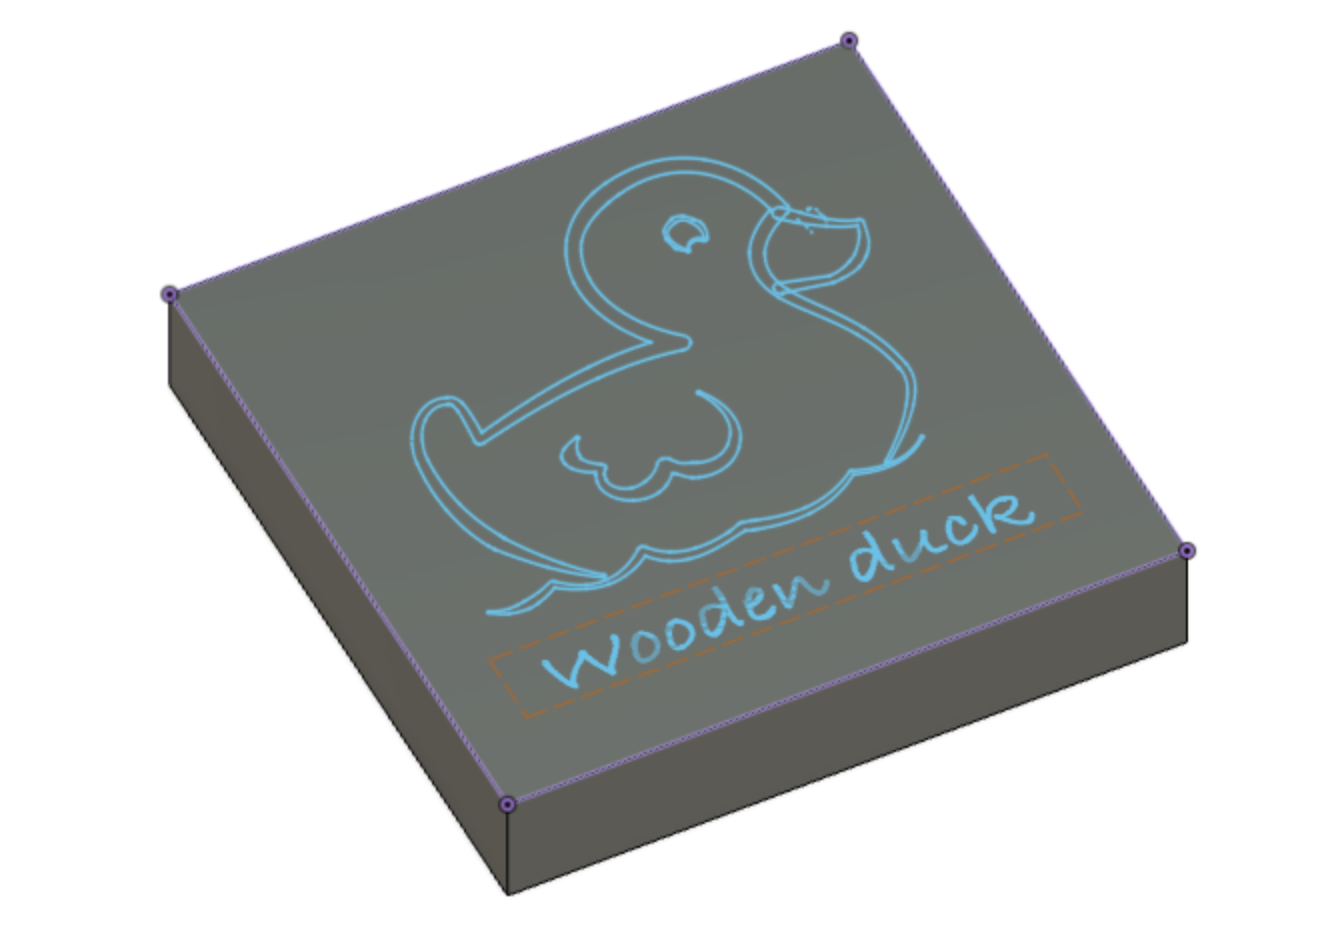
I started out with tracing a duck in Affinity designer.
Exported it as an SVG and imported it again into Fusion 360. Removed the text path from the sketch and added the text again in Fusion 360 since it messed it up on the way. I'm sure I just did something wrong while creating the SVG, but that was the quick fix.
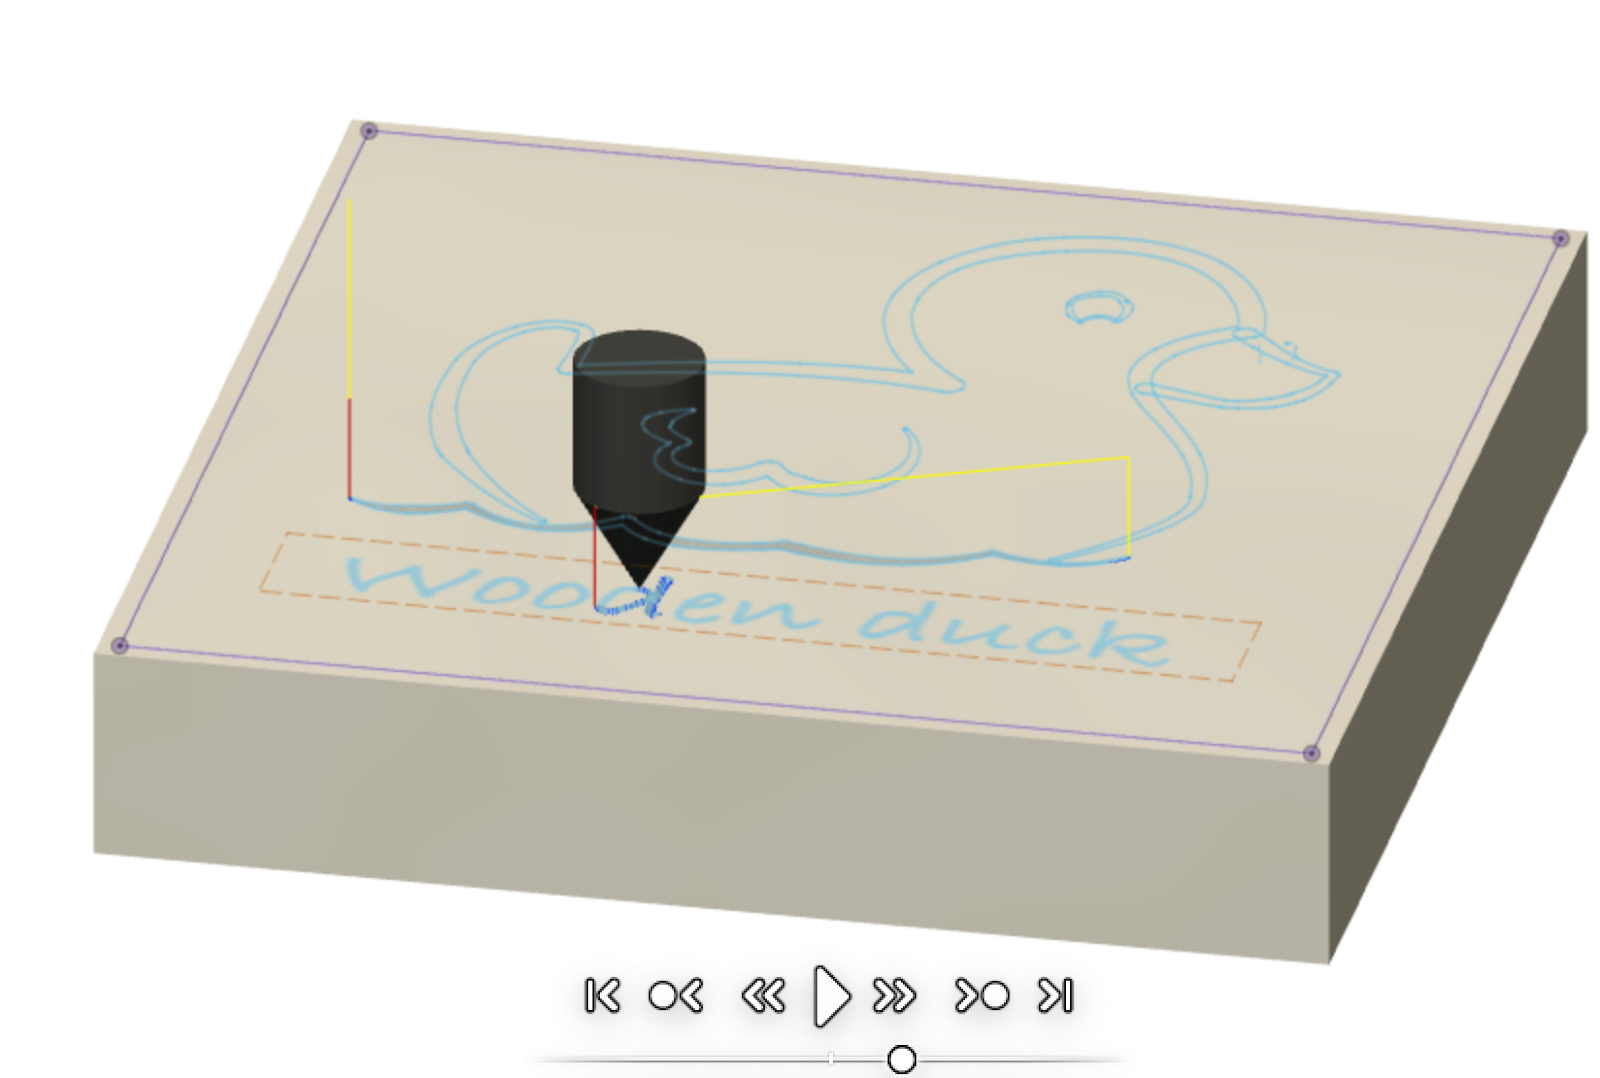
Not going to deep into this but Fusion 360 has a really cool simulation function where you can edit what tool is going to be used and really see all the movements that the router will take. This saves a lot of time since you can be sure that you at least have the correct program before machining it.
When I was done with the setup and simulation it was time to export it to generic GRBL (a language that my CNC router/controller program understands). A reference of commands can be found at
https://reprap.org/wiki/G-code.
Each line is a command, for example G1 Z5 F1000 is to start moving in straight lines, first to position 5 on the Z-axis and with a feed rate of a 1000 mm per minute.
Time to machine
Before setting anything up, I spent an hour cleaning the place up.
I then exported the nc program (a long list of G-codes) from Fusion 360 and fed it into bCNC. Then I attached a piece of wood laying around that kinda looked flat and just hit run. The first bit plunged into the wood and got destroyed within seconds. After changing bits and adjusting the origin again I got somewhat of a result out of it.
After some trouble shooting I realised the following issues with my CNC router:
- The spindel mount is broken, the plastic is cracked, which caused the spindel itself to move slightly in the Z-direction. Not good. To mitigate this, I created a small plywood box that sits tightly around the spindle until I get some replacement parts delivered. Would like one in solid aluminum instead with an interchangeable mount so I can replace the spindle to something more powerful.
- If engraving and you don't want to flatten the surface, some kind of probing would be nice. I will try to flatten the waste board at least but then I need to sink the mounting screws a bit longer into the board itself first to avoid damaging the bit.
- There are no end-stops. It would be nice to have in order to be able to auto hone.
End game
The end goal is to create routing templates so that I can use a more powerful handheld router when working on projects. But that's another post for when I've had time to try out my plywood-box-spindle-holder thingy.


No comments:
Post a Comment